Doğrulayıcınızı Nasıl Stake Edebilirsiniz?
This guide offers a step-by-step walkthrough on how to stake your Avail validator. It covers essential steps such as bonding your funds, managing session keys, and initiating the validation process.
Step 1: Prepare for Staking
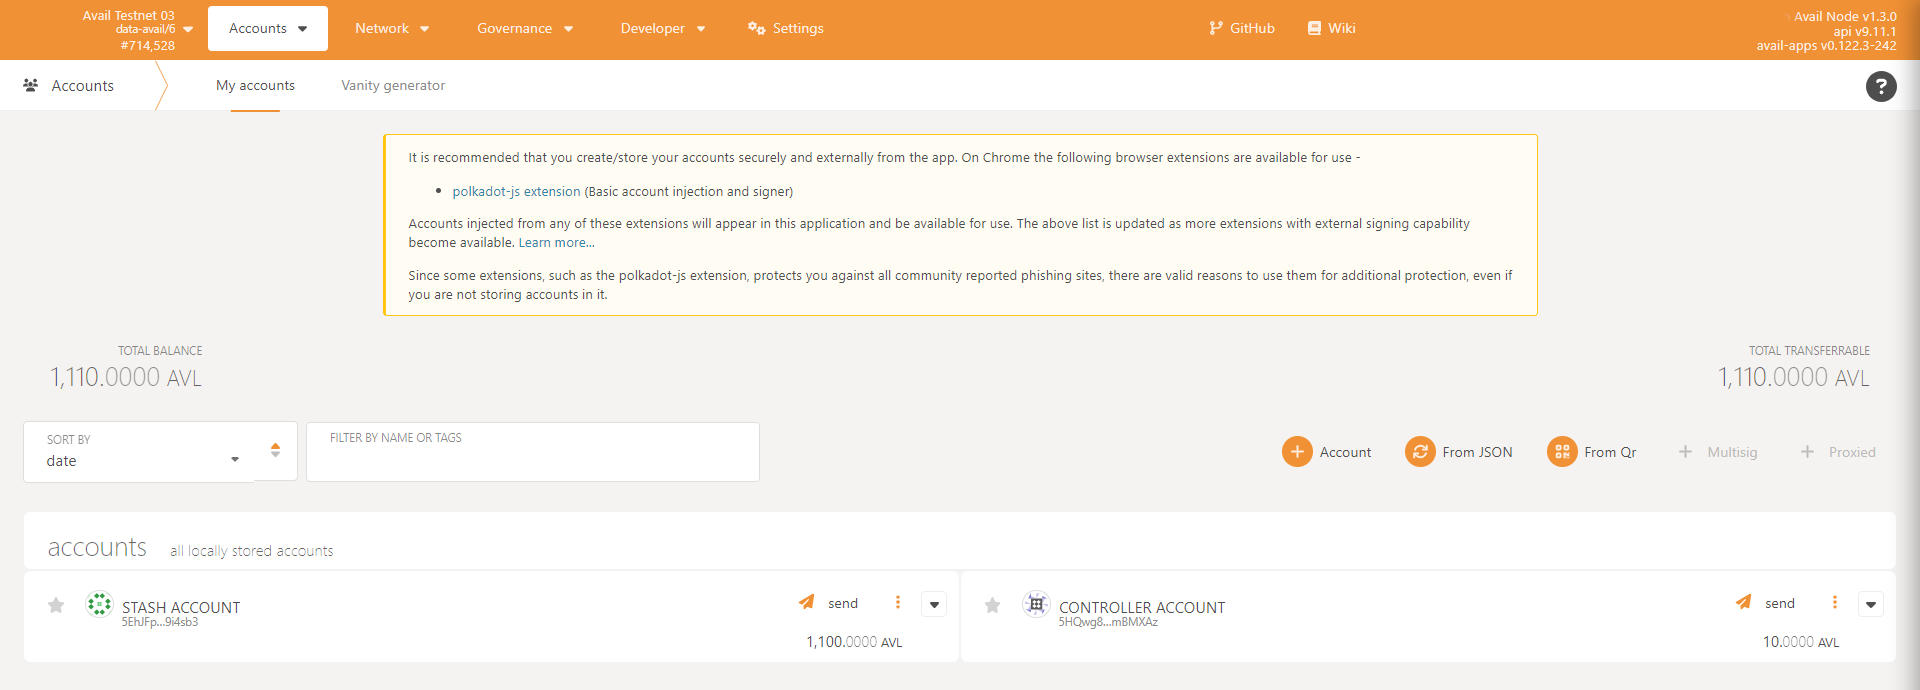
Before you can become an active validator, you need to bond your funds to your node. This involves creating two separate Avail accounts: a stash account for holding your funds and a controller account for managing staking actions.
Create Avail Accounts
- Navigate to the Goldberg network explorer at goldberg.avail.tools.
- Create a
stashand acontrolleraccount. Thestashaccount should ideally be a cold wallet, while thecontrollercan be a hot wallet.- The controller key is responsible for managing staking activities and executing transactions, including the payment of transaction fees.
- The stash key primarily safeguards your funds and should ideally be stored in a cold wallet or kept offline. It is not recommended to use the stash key for routine account activities like submitting extrinsics.
- Ensure both accounts have sufficient funds to cover transaction fees.
Keep the majority of your funds in the stash account and only a minimal amount in the controller
account to cover transaction fees.
For validators participating in our testnet, contact the Avail team to have funds transferred.
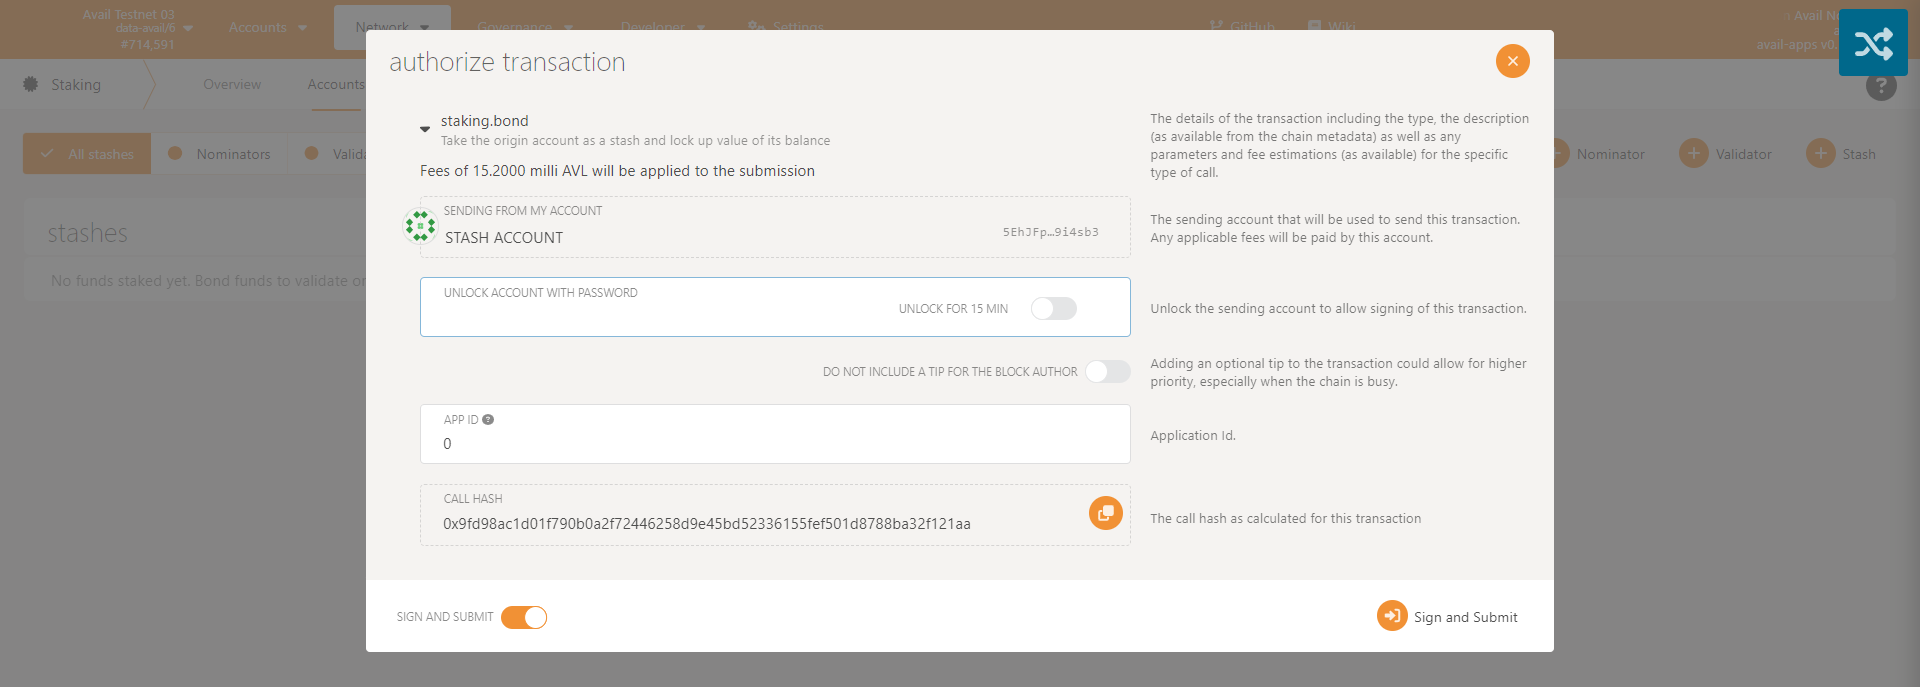
Bond Your Funds
Don't bond all your AVL tokens as you'll need some for transaction fees. You can always bond more tokens later. Note: Withdrawing any bonded amount is subject to the duration of the unbonding period.
-
Navigate to the Staking tab in the Explorer.
-
Click on
Stashto initiate the bonding process.
-
Fill in the bonding preferences.
- Stash Account: This is your designated Stash account.
- Controller Account: Choose your Controller account, which only requires a minimal amount of AVL to initiate and cease validation.
- Value Bonded: Specify the quantity of AVL tokens you wish to bond from your Stash account. You can stake any amount that exceeds the minimum requirement.
- Payment Destination: This is the account where your validation rewards will be sent. For more details, visit this link.
- After filling in the required fields, click
Bond. You will be prompted to enter your wallet password. Input your password and then click Sign and Submit.
You should now be ready to generate your session keys. Note the
Session Key button, in the next step we will generate a key to
submit here. 
Step 2: Manage Session Keys
After your node is fully synced, you'll need to rotate and submit your session keys.
Rotating Session Keys
Run the following command on your node machine:
Ensure the node is running with the default HTTP RPC port configured.
Using Binaries:
curl -H "Content-Type: application/json" -d '{"id":1, "jsonrpc":"2.0", "method": "author_rotateKeys", "params":[]}' http://localhost:9944
The result is the concatenation of the four public keys. Save the hex-encoded result for the next step and restart your node.
Using Docker:
docker ps
You should an output similar to:
CONTAINER ID   IMAGE                   COMMAND            CREATED         STATUS         PORTS                                                                                                            NAMES
da097bbeba75   availj/avail:v1.8.0.4   "/entrypoint.sh"   3 seconds ago   Up 3 seconds   0.0.0.0:9615->9615/tcp, :::9615->9615/tcp, 0.0.0.0:9944->9944/tcp, 0.0.0.0:30333->30333/tcp, :::9944->9944/tcp   musing_cartwright
We need the CONTAINER ID from the output above:
docker exec -i da097bbeba75 curl -sH "Content-Type: application/json" -d '{"id":1, "jsonrpc":"2.0", "method": "author_rotateKeys", "params":[]}' http://localhost:9944
Submit Session Keys
You must inform the network of your Session keys by signing and submitting the
setKeys extrinsic. This action associates your validator with your Controller account.
- Navigate back to the Staking tab.
- Click on
Set Session Keyand enter the hex-encoded result. - Click
Set Session Keyand enter your password when prompted.
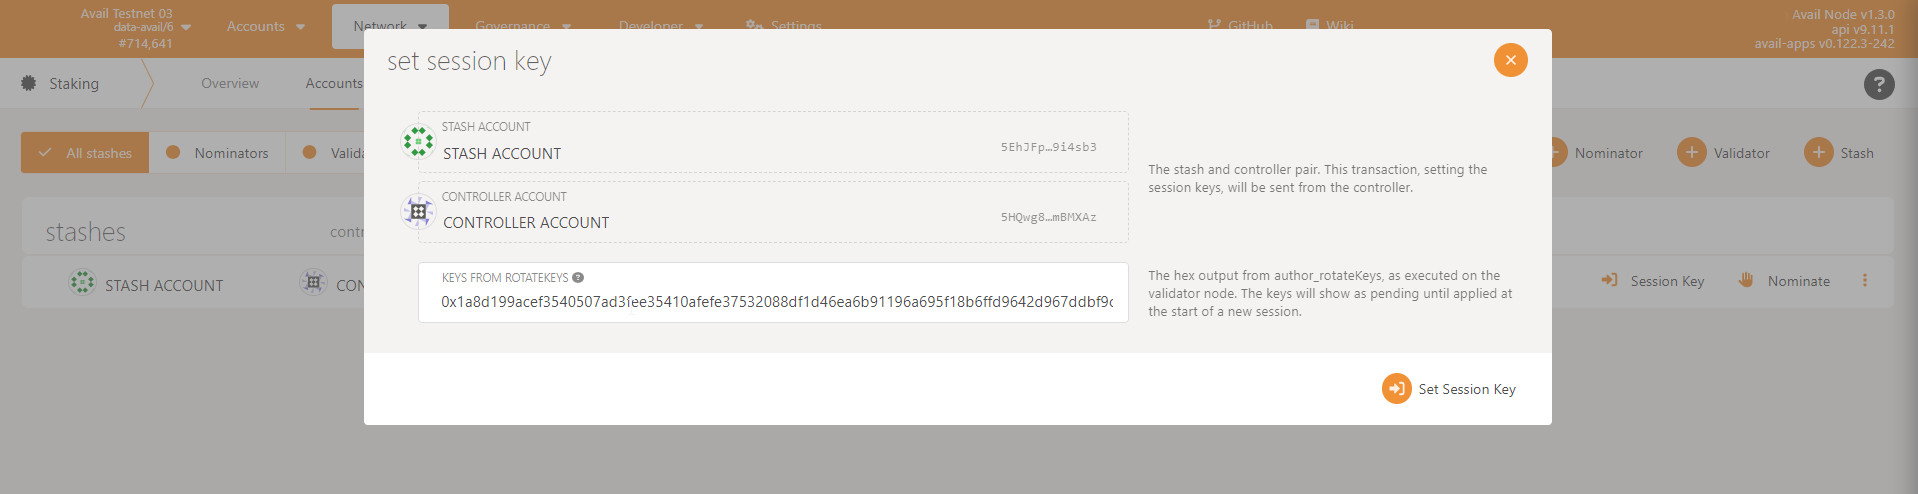
After submitting the extrinsic, you'll observe that Set Session Key changes to Validate. Make sure your node is fully synchronized before proceeding further.
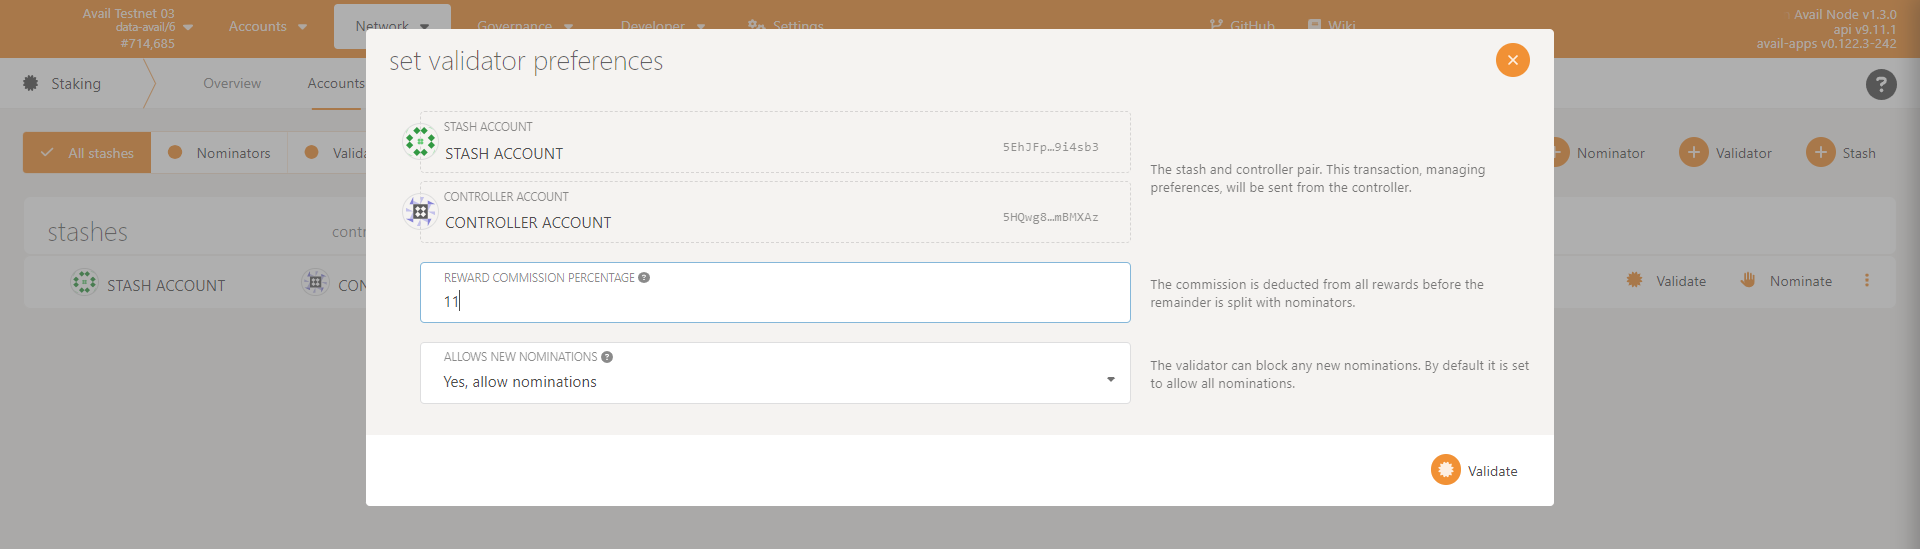
Step 3: Register as a Validator
- Click
Validateon the Staking tab.

- Set your validator commission percentage.
- Enter your password and click
Validate.
Step 4: Start Validation
Your validator is now prepared to begin the validation process. If you wish to discontinue, you can click the stop icon. Please note that the Avail interface doesn't automatically verify if your node is synchronized; you'll need to confirm this manually. If your node has sufficient stake, the Avail blockchain will likely select it in the next epoch or two.

Verify Validator Status
To verify that your node is ready for possible selection at the end of the next era, follow these steps:
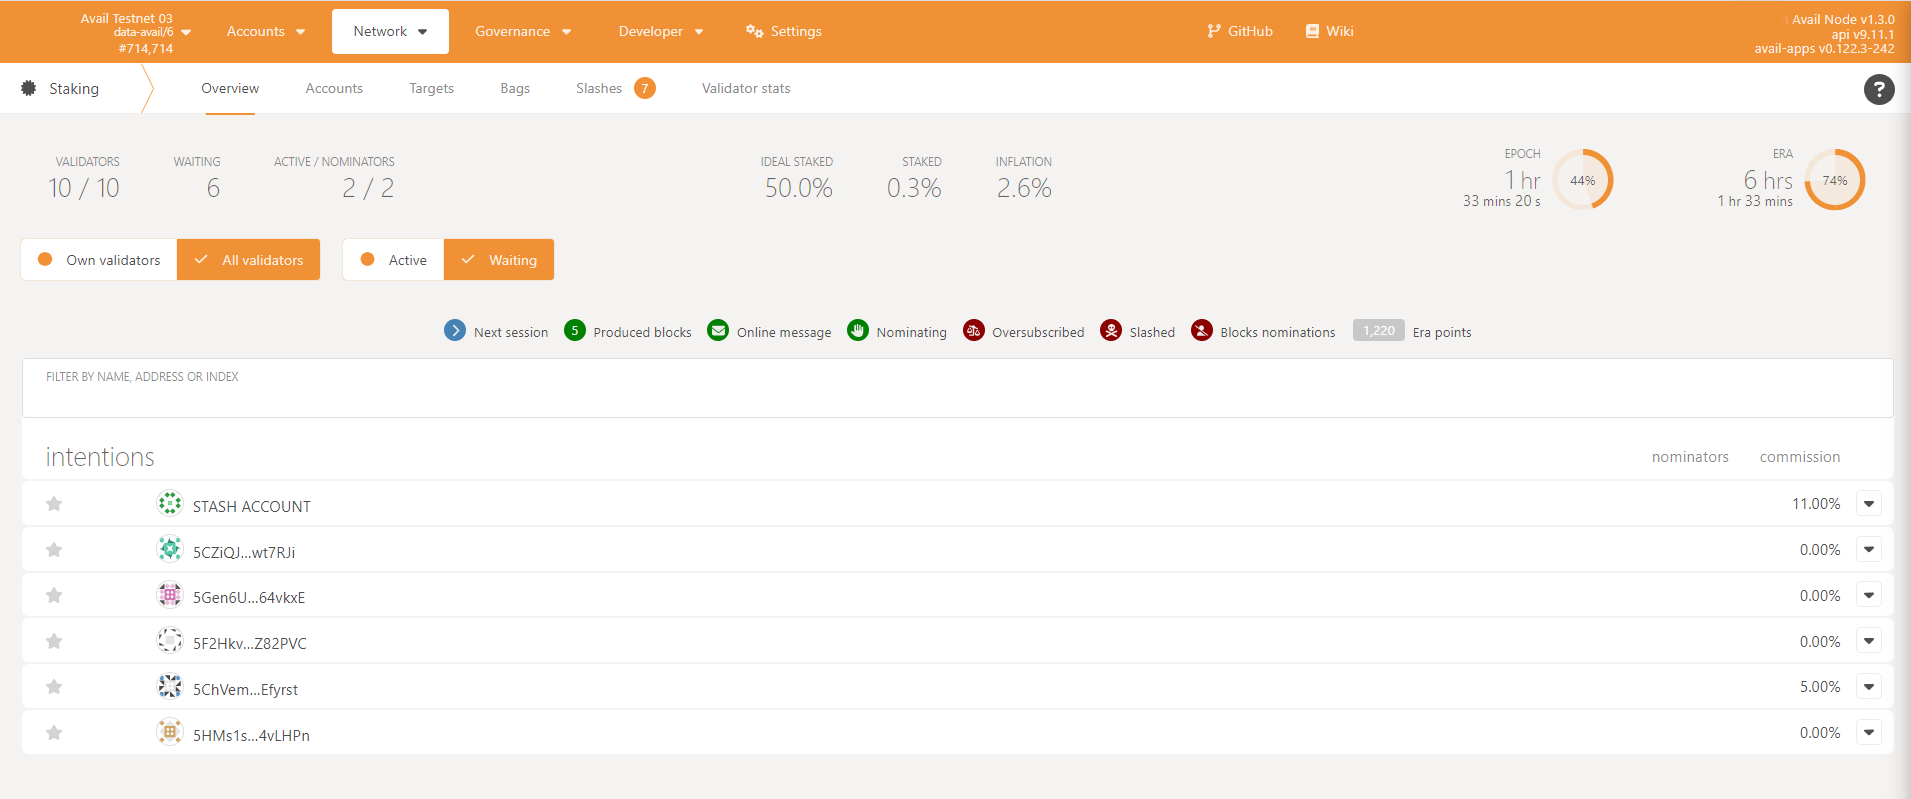
- Go to the Staking tab and
select
Waitingto see if your account appears. - If your node has enough stake, it will be elected in the next era or two.
A new set of validators is chosen every era, based on the amount staked.
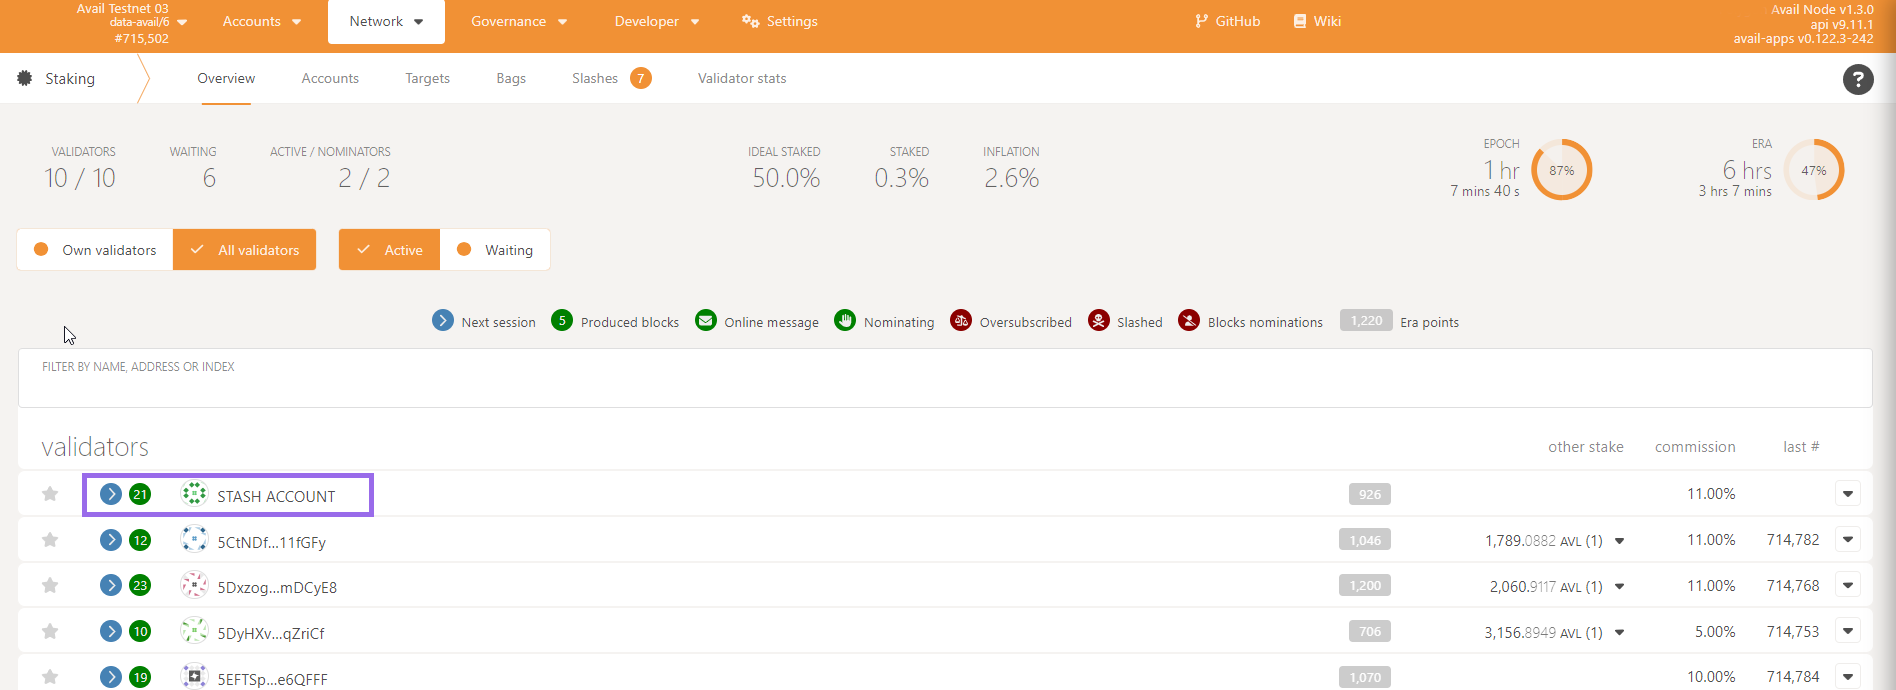
Monitor Validator in Action
Once your validator node has accrued enough stake, it will be elected for validation. Below is an example image of an elected validator node actively producing blocks.
In addition, please check out the guide on validator monitoring available here.
Next Steps
Congratulations on successfully setting up your Avail Validator node!
As you move forward, here are some essential actions to consider:
-
Backup Your Validator: Ensure you have a secure backup of your validator settings and keys. Refer to the Backup Guide for detailed steps.
-
Start Monitoring: If you haven't already, set up monitoring tools to keep track of your validator's performance. Check out the Monitoring Guide for recommendations.
-
Join the Community: Connect with other validators and the Avail team on the official Discord Channel. It's a great place to share experiences, ask questions, and get updates.